|
|
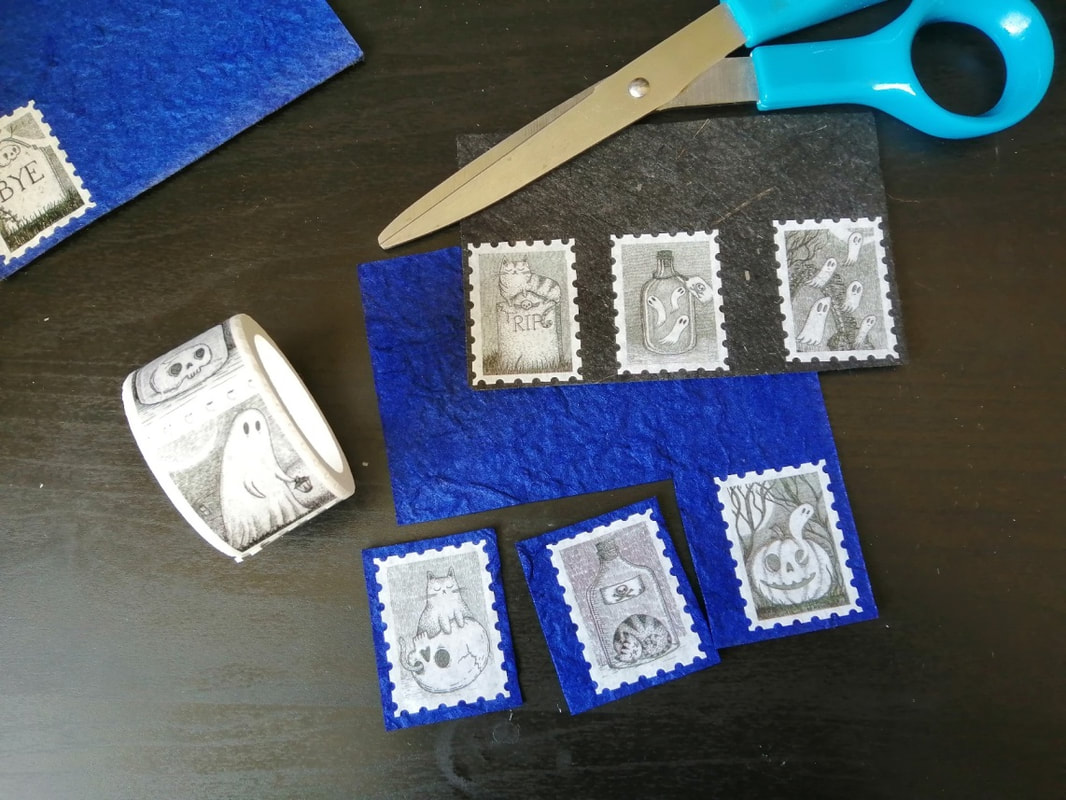
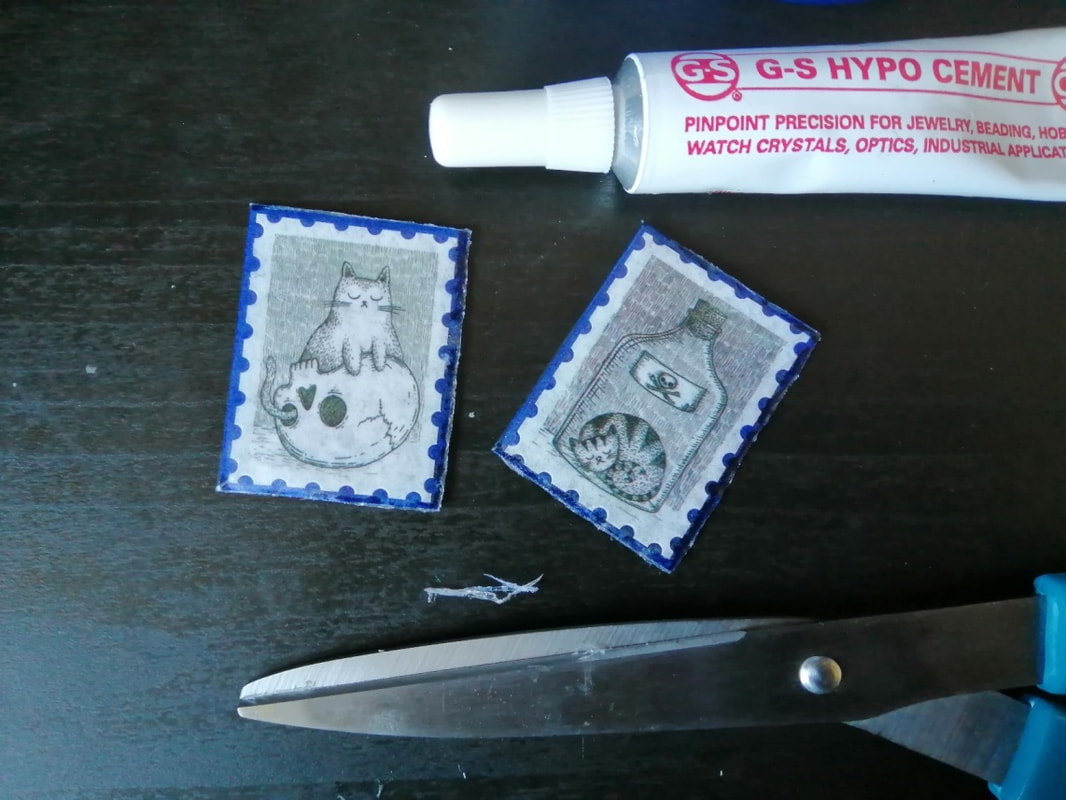
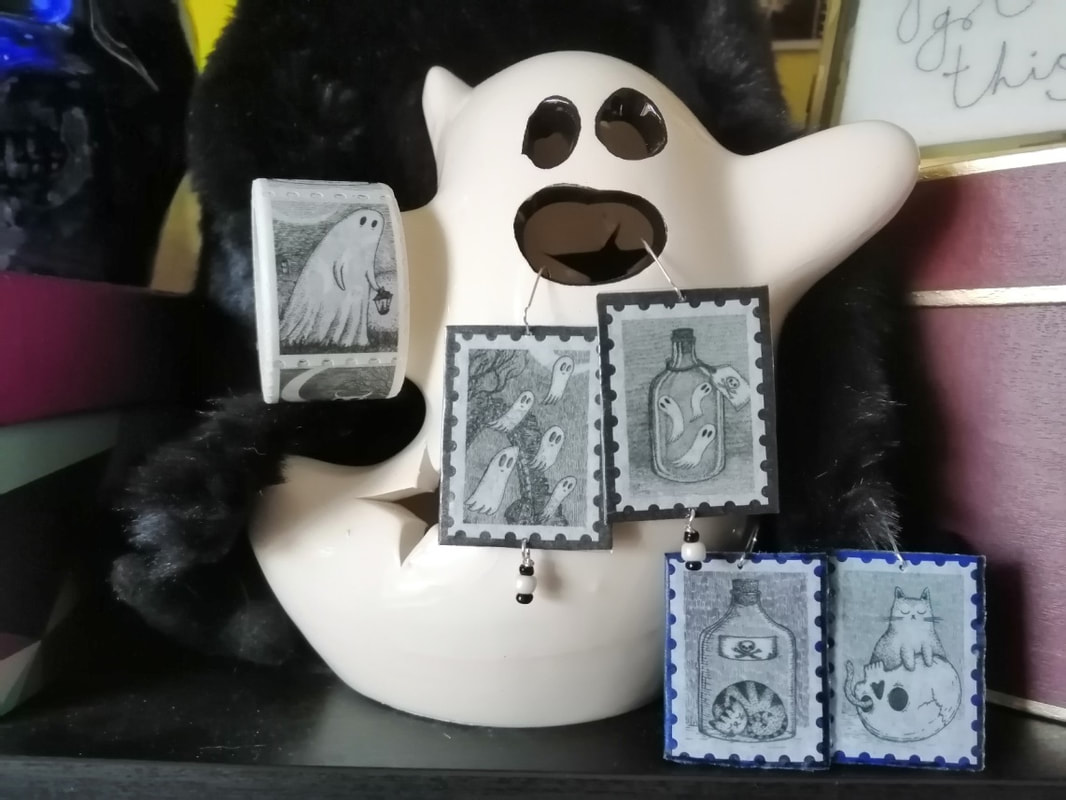
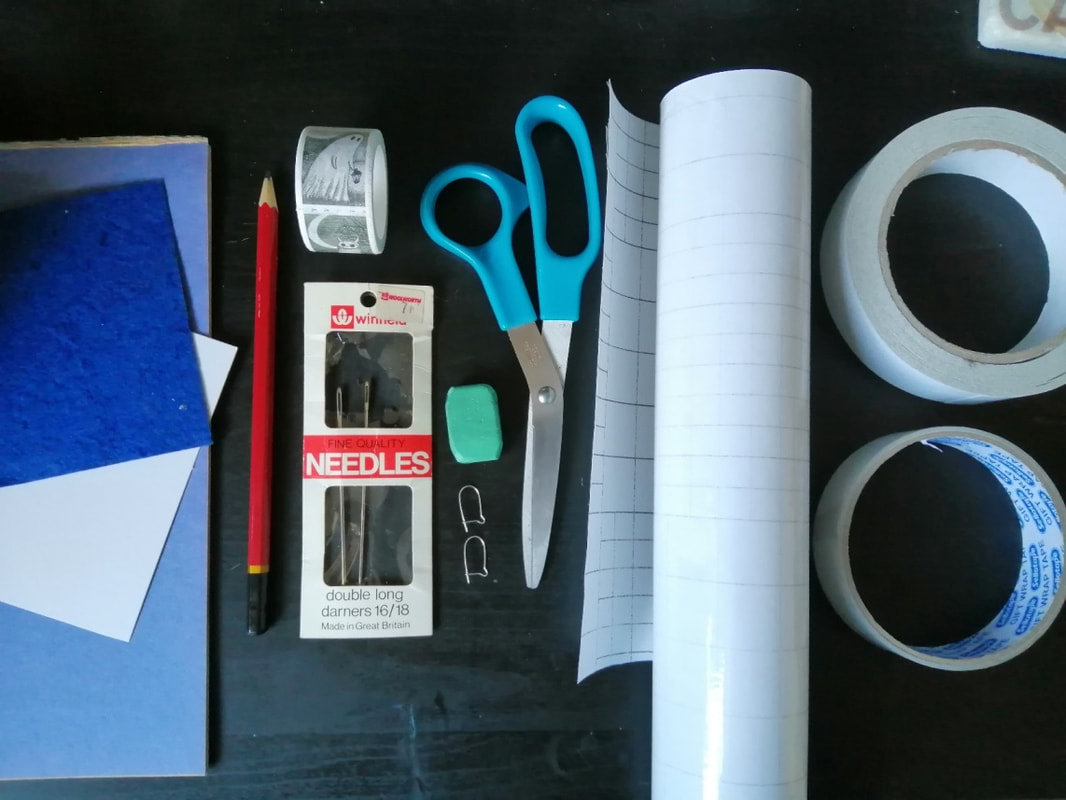
I recently treated myself to some "stamps" washi tape from a favourite illustrator of mine, Jon Turner (www.thisisjonturner.com) and when I commented online that I might turn some into jewellery, he asked if I'd share how. So... How do you make really easy square or rectangle earrings from your favourite stickers, pretty washi tape, or, well, anything papery? 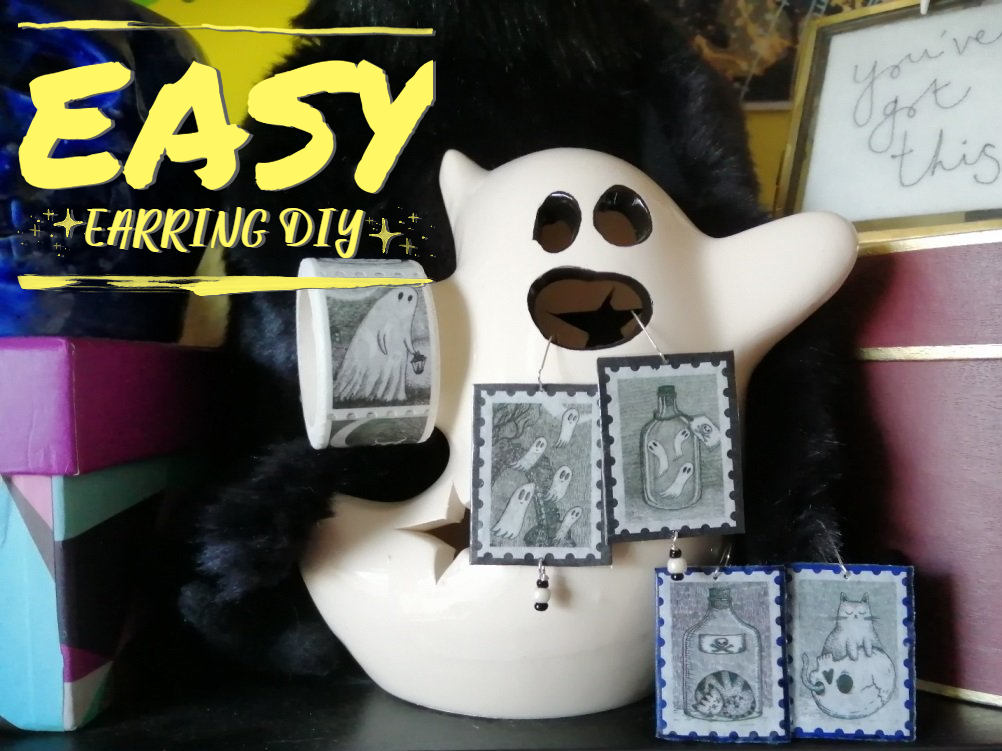 This is a really easy make, not something to last through the ages, but great for being able to wear something you love! So if you want to use what you probabaly already have at home, to make quick, no mess accessories (no resin, no varnish, no layers of glue to dry) this is perfect for you. You will need:
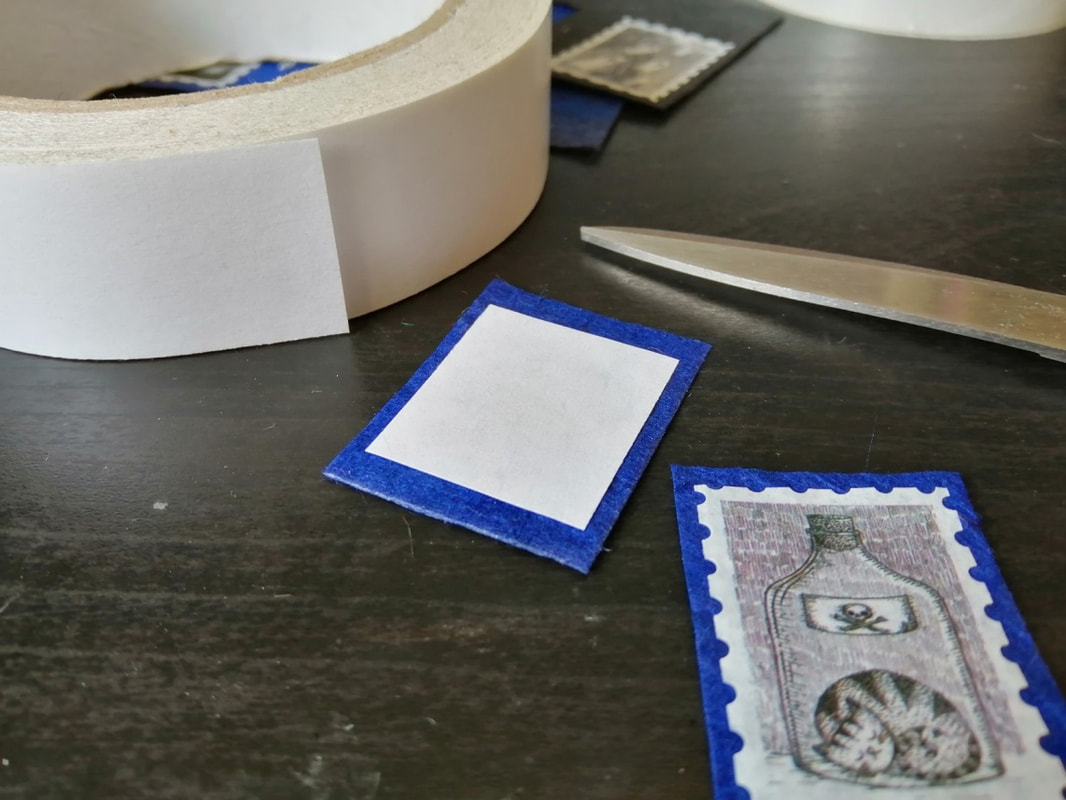
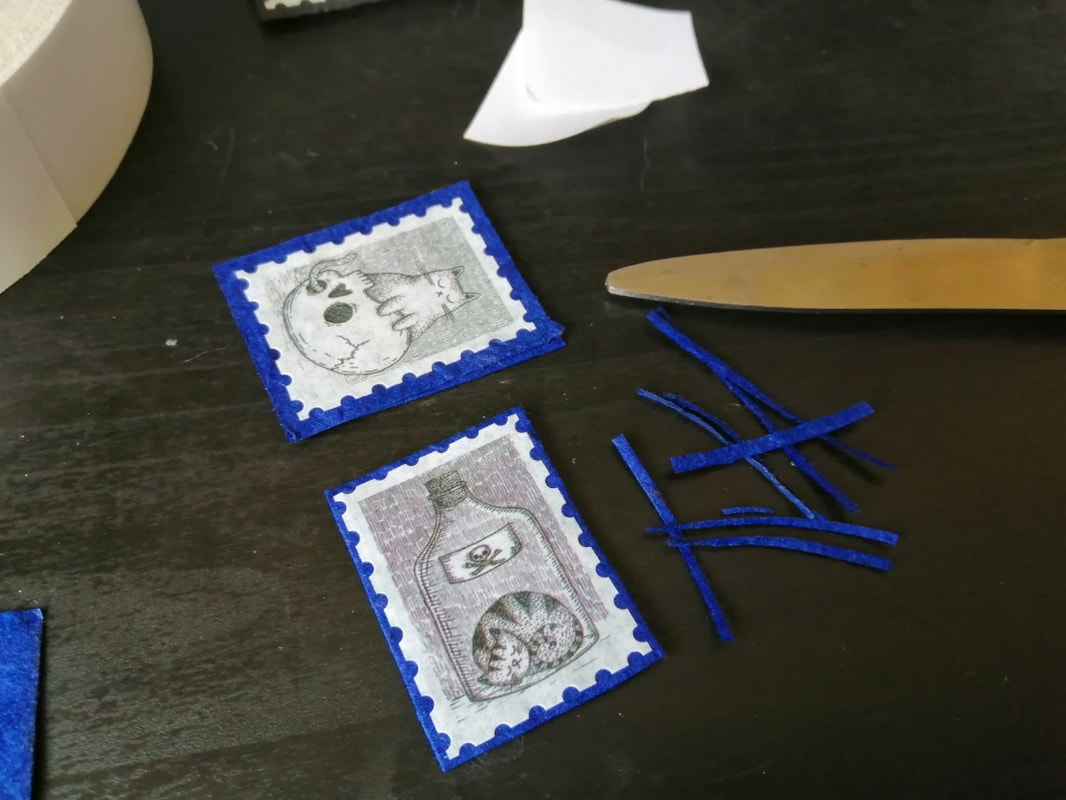
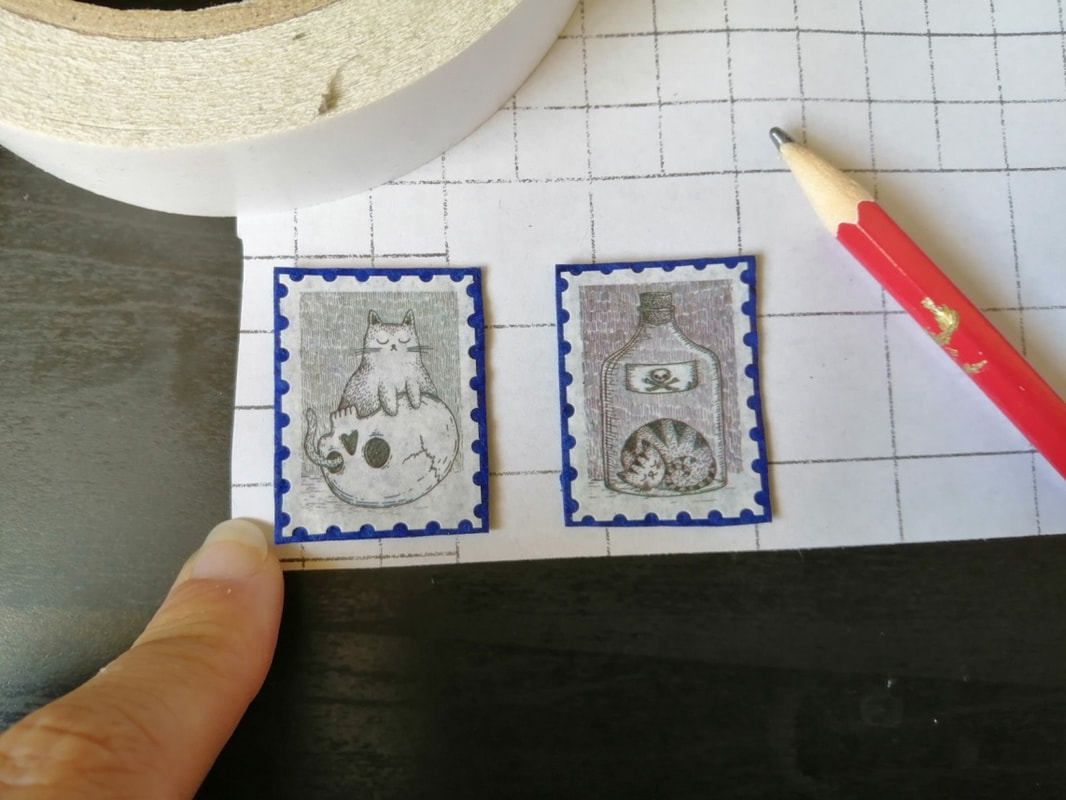
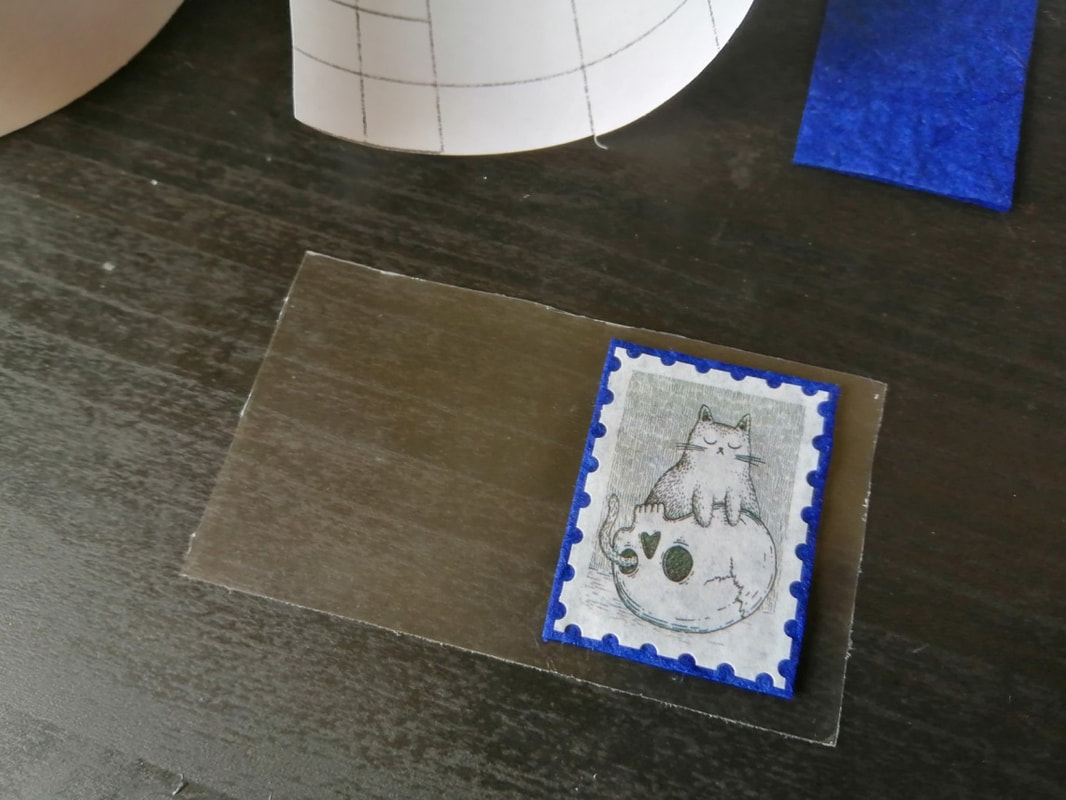
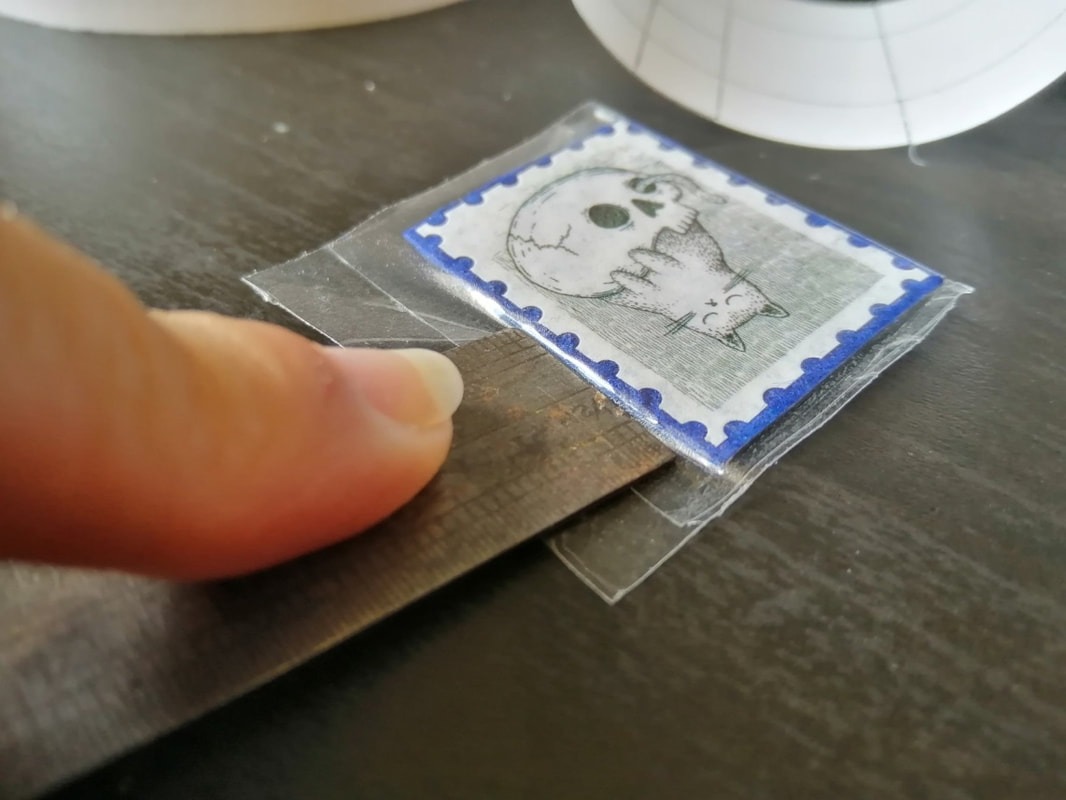
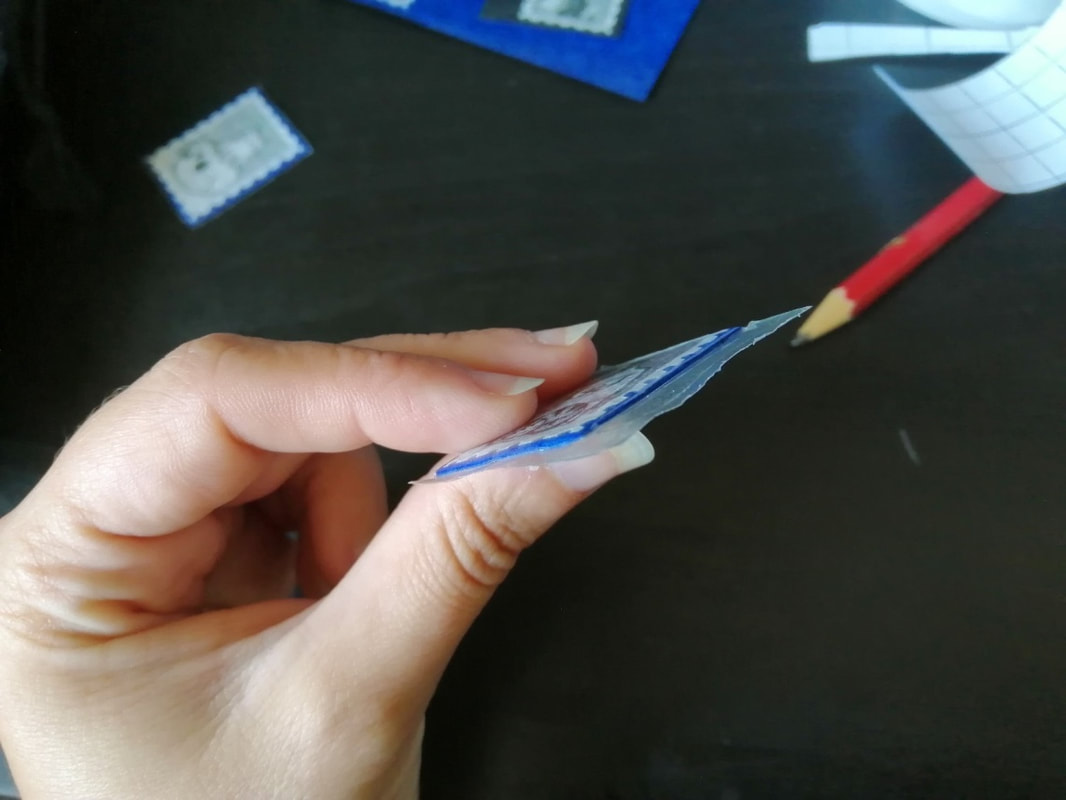
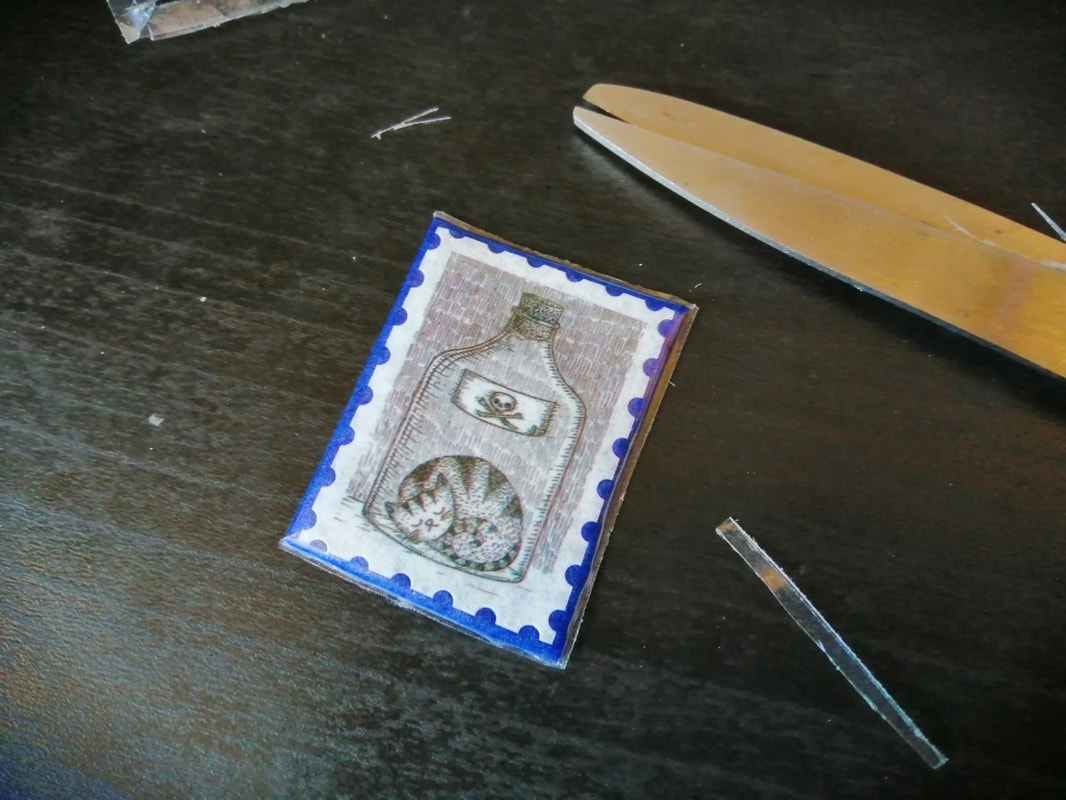
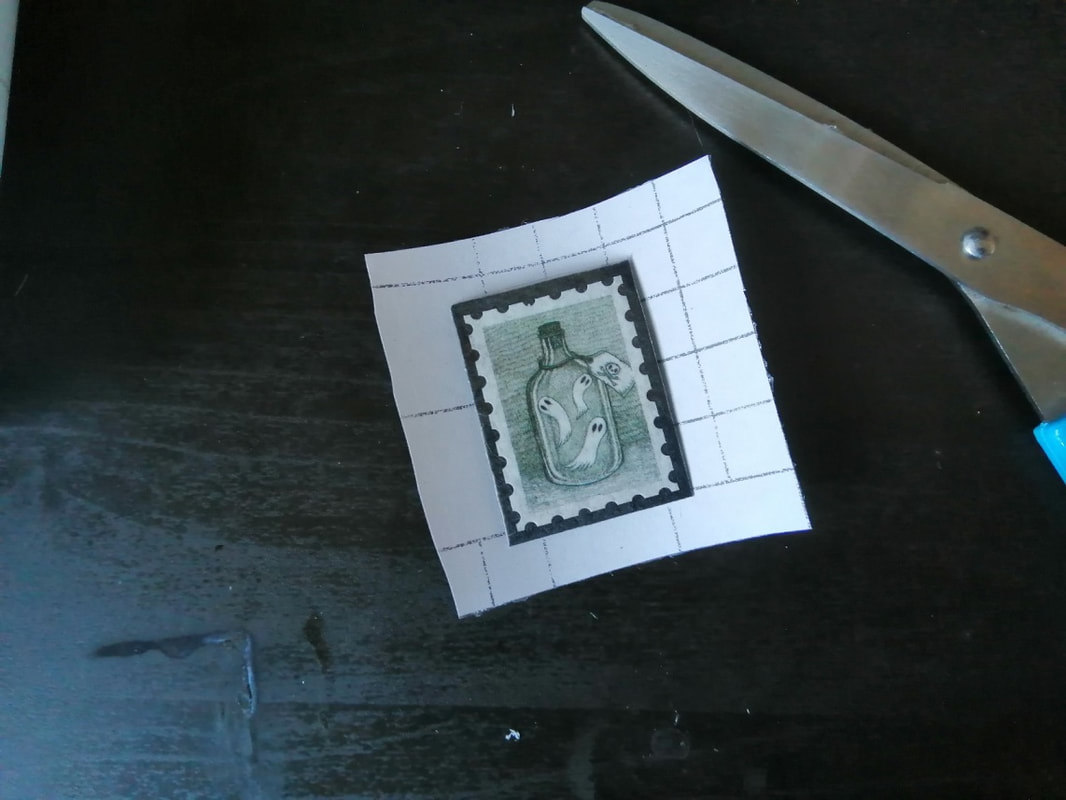
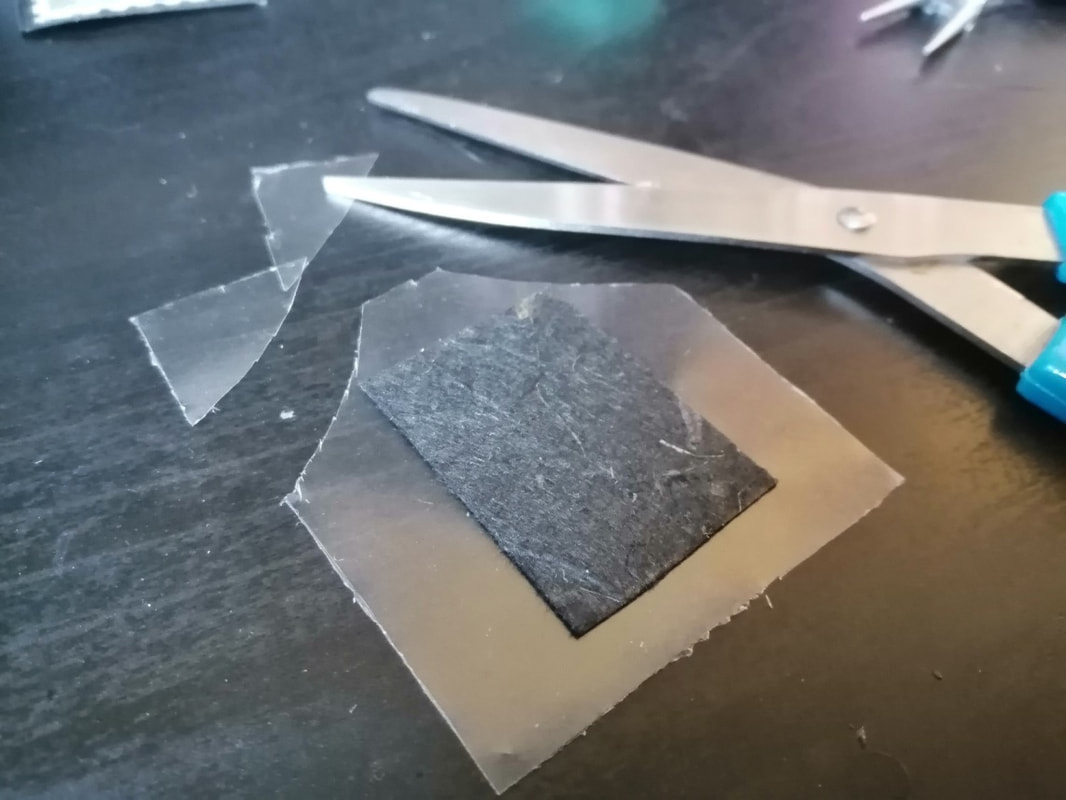
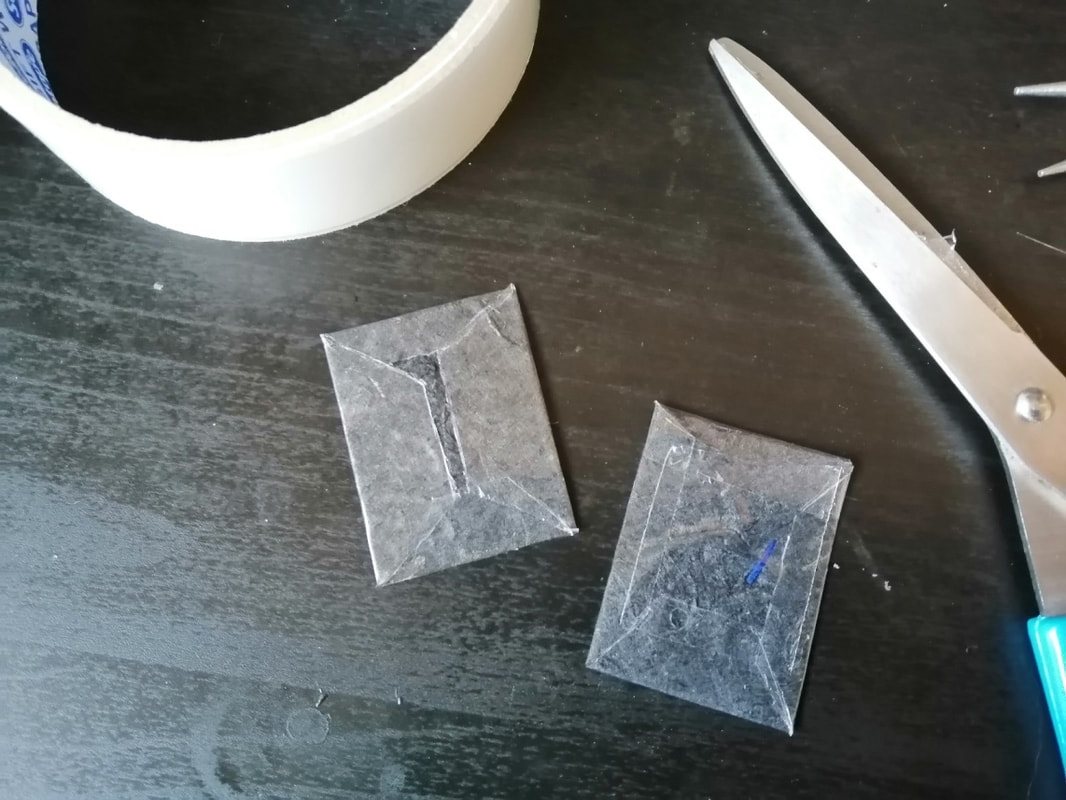
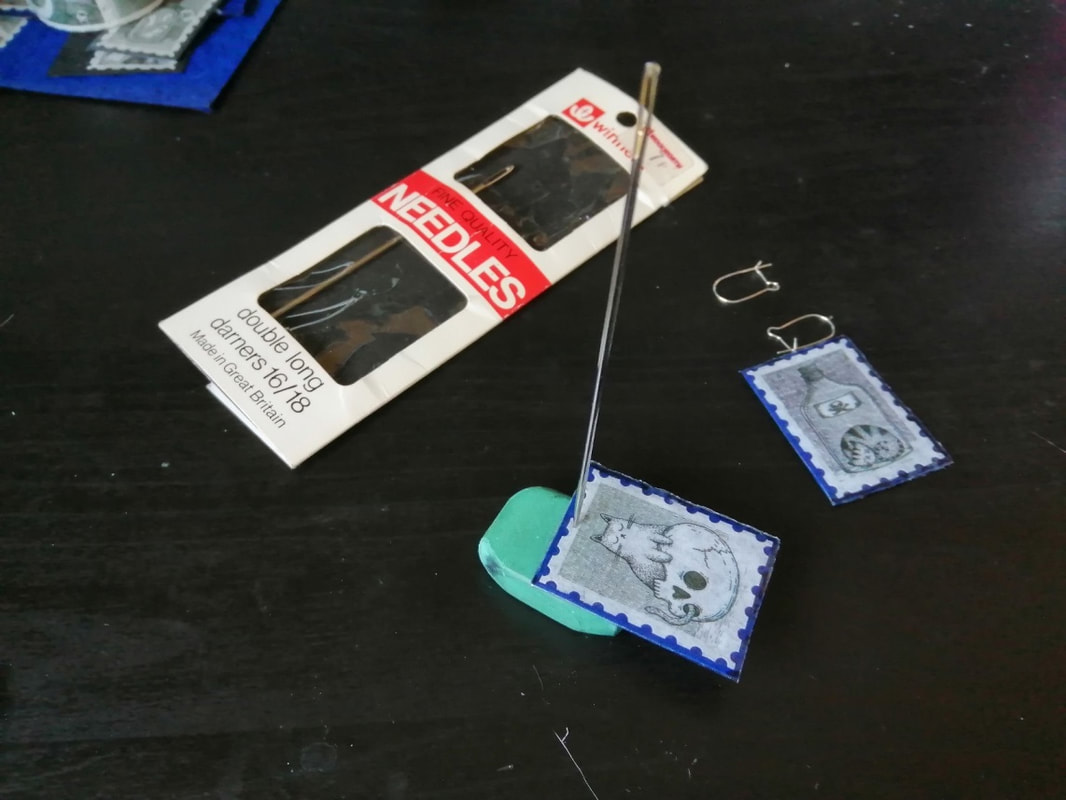
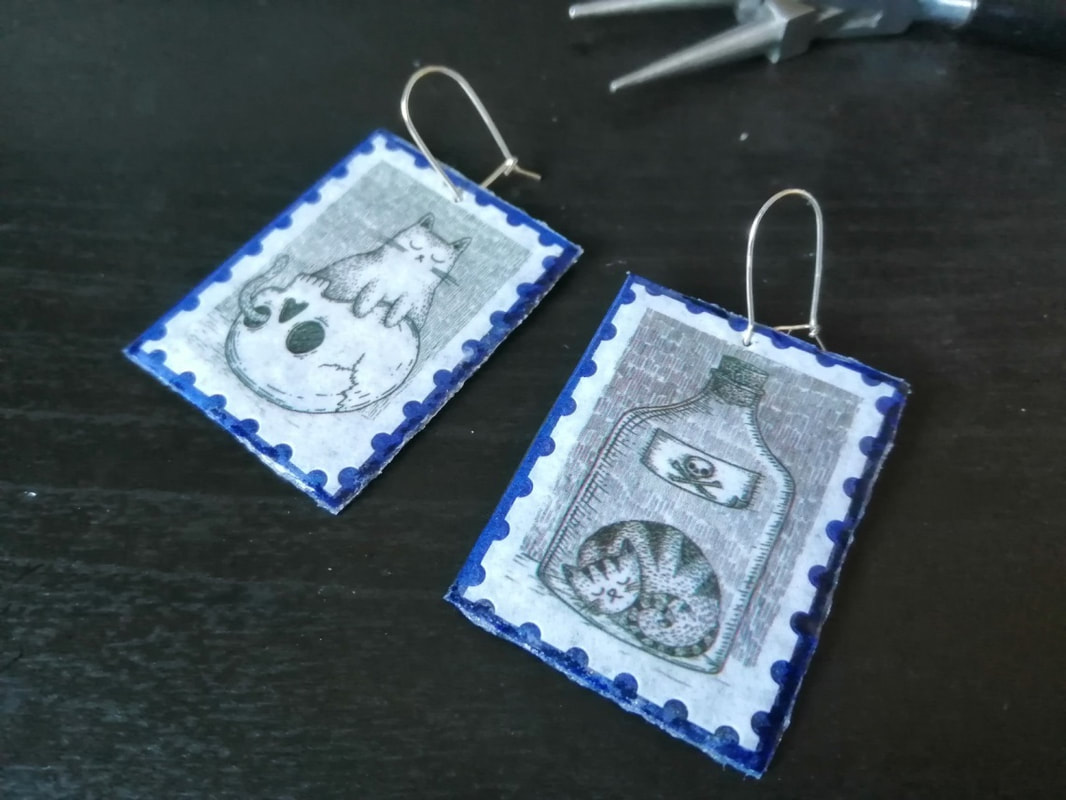
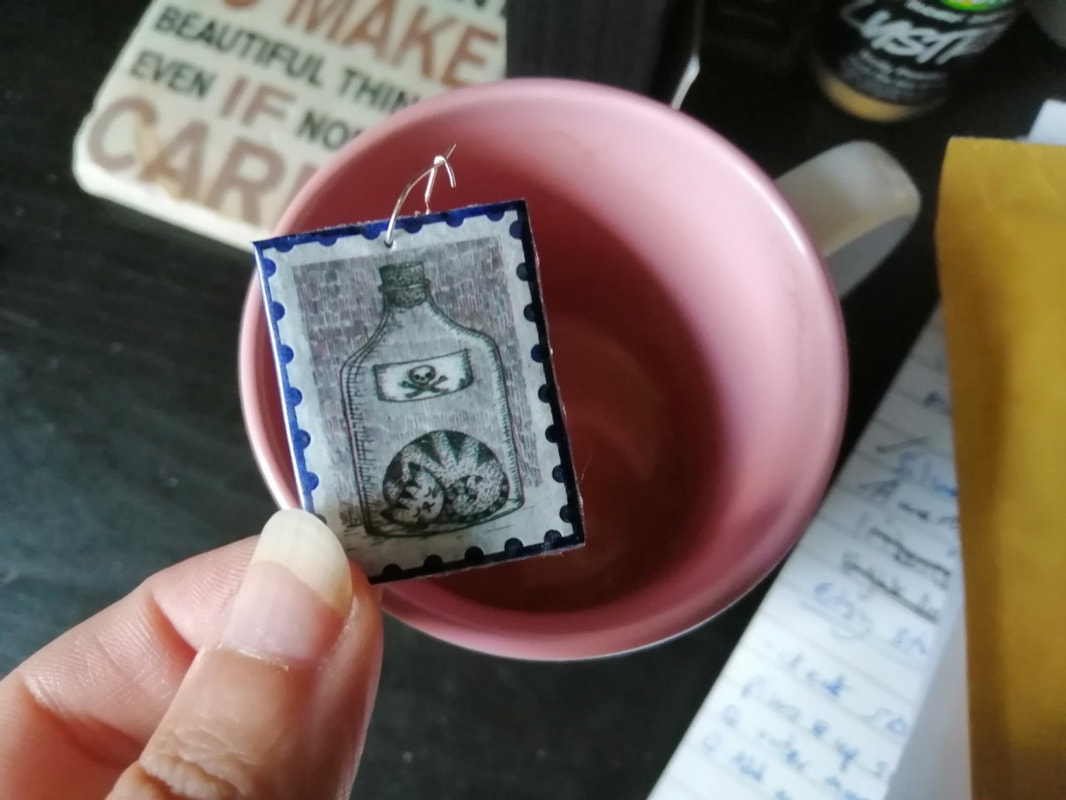
 First, find a paper or card you want to be the backing for your stickers or tape, matching, contrasting, simple or bold! Stick your decoration down, and cut out, leaving 3 to 5 mm areound the edges. If your paper choice is a bit flimsy, or only patterened on one side, you may need to use double sided tape to add another layer of paper, or to make a sandwich of paper, thin card, paper again. No need to be too precise on the edges, as you'll be trimming it all down soon. Once you are happy your earring backing is sturdy enough (these are for fun, not forever, so they don't need to be titanium!) trim the backing around your decoration to your preference for how much shows. Now you have two options for sealing in your design! The fold and trim seal This gives a nice smooth front and back, and a little extra arund the edges. Measure and mark your sticky back plastic so there's enough to wrap an earring, with about 5mm or more spare around the edges. An easy way to do this, if both your earrings are the same size, is to lay both out side by side, with space around the edges, mark, and then repeat a second time for the second earring. Peel off the sticky plastic's back coating, stick the earring to one side, and fold the plastic over tight along the edge - BEFORE you firmly stick the edges together, use a ruler, blunt knife or sturdy fingernail to press up against the sides of your backing, to get a really close and tight seal. It should look almost like a vacume sealed little packet when finished. Leaving a 1mm or 2 mm edge, to make sure it stays stuck together, trim down the excess sticky plastic. If you do trim too much and it starts to come unstuck, you can try to carefully seal it again with glue, just be careful it won't soak into and ruin your paper! The all edges seal This gives nice close edges, with seams on the back. Measure, mark and cut your sticky back plastic as if you were wrapping a present, so there is enough to cover the front of your earring, and wrap around each side to cover the back. Stick your earring face down, trim off a triangle from each corner of the sticky plastic, and carefully, close to the edges, fold the sticky plastic around the back. You might have a little gap left on the back, which you can cover with more sticky back, or a bit of tape. Use your needle to slowly and gently wiggle a hole down through your earring, into the eraser or blu tack to keep the point safe. If you do this while holding the earring and pushing the needle through, or push too fast and firm your backing may bend or crease. Pop your earring wires through, and you're good to go! If you want to get extra fancy, you can add more holes, and attach beads, tassles, or other decorative bits and bobs. While taking my photos of the finished earrings I dropped one into about a cm of tea... and it was fine, so that sticky covering does its job! So have a rummage around the house, see if you have the parts to hand, and give it a go! You can use this same idea to make pendant necklaces, brooches, Christmas decorations, all sorts depending on how inventive you fancy getting.
Let me know in the comments if you plan to give it a go, and what your results are!
0 Comments
Leave a Reply. |

Welcome to Lisa's Perfidious Jewellery adventures. Unusual yet wearable accessories to help you share your personality with the world, plus cats, tea, and craft ideas! Categories
All
Archives
February 2024
|